SOUTH STRADBROKE ISLAND

Let’s start from the top; South Stradbroke Island and The Spit are the Gold Coast’s top two northern breaks. South Stradbroke ( Straddie or TOS  as the locals call it) are some of the best beach breaks you’ll find on the Gold Coast and the world.

Both these breaks need two very different approaches; Straddie requires a short but intense 350m paddle from break-wall to break-wall on the north side whilst dodging boats, rips and sharks to make it safely to the other side. But once there, it’s beach break heaven, from the break-wall past the sand pump to about 500m up the beach it’s A-frame peak after peak of hollow, sand bottom perfection.

Swell: 2-4 foot

Wind: W-SW

Tide: All tides

Setup: Beach break

Crowds: Fairly crowded

Surf guide south stradbroke island
Surf guide gold coast
Surf Guide Gold Coast
The Spit Map

THE SPIT

The Spit on the other hand is an easy park and paddle.

The Spit is a saviour on the Gold Coast in summer as it’s protected and offshore in the northerly winds that prevail over summer.

The best waves can be found on the north side of the jetty in the corner by the break-wall, which produces long lefts that peak up close to the rocks and in the middle of the beach you can find some great peaks. On the South side of the jetty, when the sand is right you can score great waves breaking near the jetty, that run left and right.

Swell: 2-4 foot

Wind: NW-W

Tide: All tides

Setup: Beach break

Crowds: Average

The Spit Gold Coast Surf Guide
The Spit, Gold Coast, Aerial,
The spit jetty, gold coast,
The Spit Map
Surf Guide, The jewel, Gold Coast,

MAIN BEACH, SURFERS PARADISE AND BROADBEACH​

This 9km stretch of beach produces great waves, and it’s just a matter of keeping an eye on the sand banks.

Main Beach has an artificial reef that was installed around 2000 to produce a reef style set up, but unfortunately it never really worked. But saying that, on occasion when the sand builds up, it can hold some great waves.

I’m a fan of the beach breaks around the heart of Surfers Paradise, I know it gets busy from visitors, but normally there’s no trough and the waves break closer to shore in shallower water producing nice shaped barrels.

Swell: 2-4 foot

Wind: NW-W

Tide: All tides

Setup: Beach Break, artificial reef

Crowds: Average

Surf guide, Gold Coast
Surfing Gold Coast
Surf map Surfers paradise

MIAMI, MERMAID AND NOBBY BEACH

This 6km stretch of sand produces excellent beach breaks and it’s my local patch of sand. Once again it’s a matter of keeping an eye on the sand banks. There’s plenty of great after surf eats, coffee and bars on this stretch of the coast to keep the traveling surfer fed and entertained.

Swell: 2-4 foot is ideal for here.

Wind: W-SW

Tide: All tides

Setup: Beach Break

Crowds: Average

Mermaid Beach surf gold coast
Duck dive, surf, gold coast,
Surfing on the Gold Coast
Mermaid Beach surf map

BURLEIGH HEADS​

Well, Burleigh Heads needs no introduction. It’s a world class point break producing long rides and hollow barrels.

In my opinion it’s the heaviest of the point breaks on the Gold Coast, with thick barrels that break over shallow rock and sand.

It starts with the paddle out that normally removes a bit of skin on the slippery barnacle covered rocks and maybe a fin or two if you miss-time the jump.

Access to the break is from around at The Cove to the right of the car park. Take the coastal path south and cut off the track just before the lock gate and make your way down to the rocks. Time your jump as these rocks offer little forgiveness. (Trust me I know)

Alternatively, you can paddle from the beach, but this will take some time, as normally the sweep is from the South making for a solid paddle.

Once out, pick a spot between The Cove and The Point and wait to potentially get one of the best waves of your life.

Swell: 2-6 foot

Wind: SW

Tide: Low to mid tide

Setup: Right hand point break ( sand and rock )

Crowds: Crowded

Burleigh Heads Surf Guide
Guide to surfing Burleigh Heads
Burleigh Heads Surf Map

CURRUMBIN ( THE ALLY )​

The Ally is another classic right-hand point break here on the Gold Coast.

If the sand is right, it begins with a barrel and then turns into a long performance wave that winds down the point past the estuary and into the beach.

You can access the break by jumping from the rocks, which needs to be timed perfectly as it requires a run and jump between sets, mistime it and the rocks here are extremely sharp. The other options are a key-hole on the north side of the rock or a paddle from the sand near the entrance of the estuary.

This break gets busy from all types of watercraft and learners, so mind your head.

Swell: 2-6 foot

Wind: SW-S

Tide: Low to mid tide

Setup: Right hand point break  ( mostly sand, few rocks )

Crowds: Crowded

Surf guide Currumbin
Surf Guide Currumbin
Surf Guide Currumbin Gold Coast
Currumbin Beach surf map
Surf guide Kirra

KIRRA​

The jewel in the crown when it comes to point breaks on the Gold Coast.

Kirra was once the place every surfer dreamed about surfing and drew in their textbooks at school. Unfortunately it was buried in sand around 2001 during a sand distribution scheme on the southern end of the coast to stop beach erosion. But the good news is it’s slowly coming back to life and there’s been some incredible sessions happen over the past few years.

Kirra begins at the groyne and is a long top to bottom sand churning barrel and if you’re not fast to your feet it will chew you up.

Entry is fairly easy and can be accessed from the south side of the groyne and is a quick paddle out between sets.

Swell: 2-6 foot

Wind: S-SW

Tide: Low to mid

Setup: Sand bottom point break

Crowds: Crowded when working

Kirra surf guide
Kirra Beach
Kirra surf map

GREENMOUNT

This section of the famous Snapper Rocks to Kirra is one of my all time favorites.It’s technically a point break, but since the introduction of the Super Bank, it’s a continuation of the wave that now breaks from Snapper.

On a good day, this section out front of the Greenmount Hill is extremely hollow and produces some incredible long barrel rides.

Entry is fairly easy if you start up the point towards Snapper Rocks as the sweep is from the south and you’ll be at Kirra if you paddle from the hill on a south large swell.

Swell: 2-6 foot

Wind: S-SW

Tide: Low to Mid

Setup: Sand bottom point break

Crowds: Crowded


Gold coast surf guide
Guide to surfing on the Gold coast
Surfing Greenmount
Surfing guide gold coast
Guide to surfin Snapper Rocks

SNAPPER ROCKS

Well, what can I say about Snapper Rocks that you probably haven’t heard or seen before…

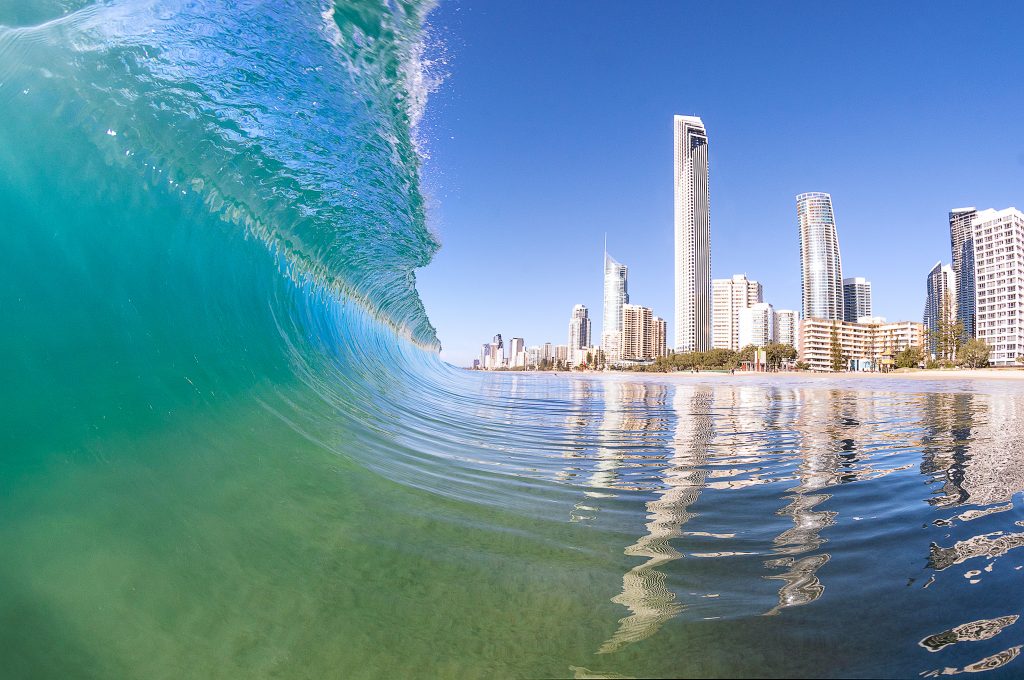
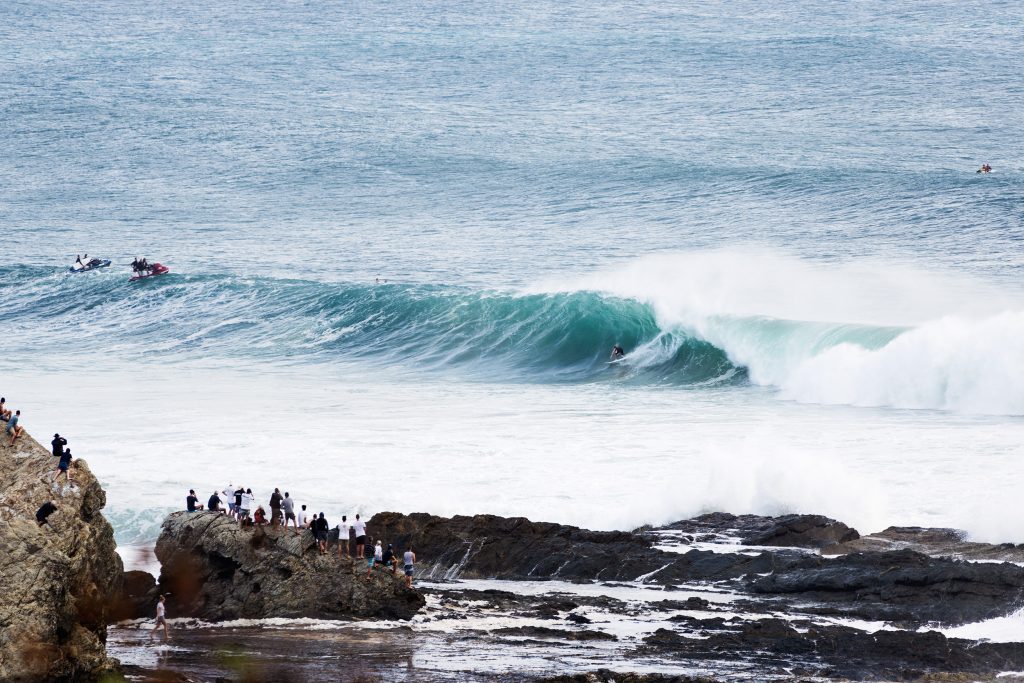
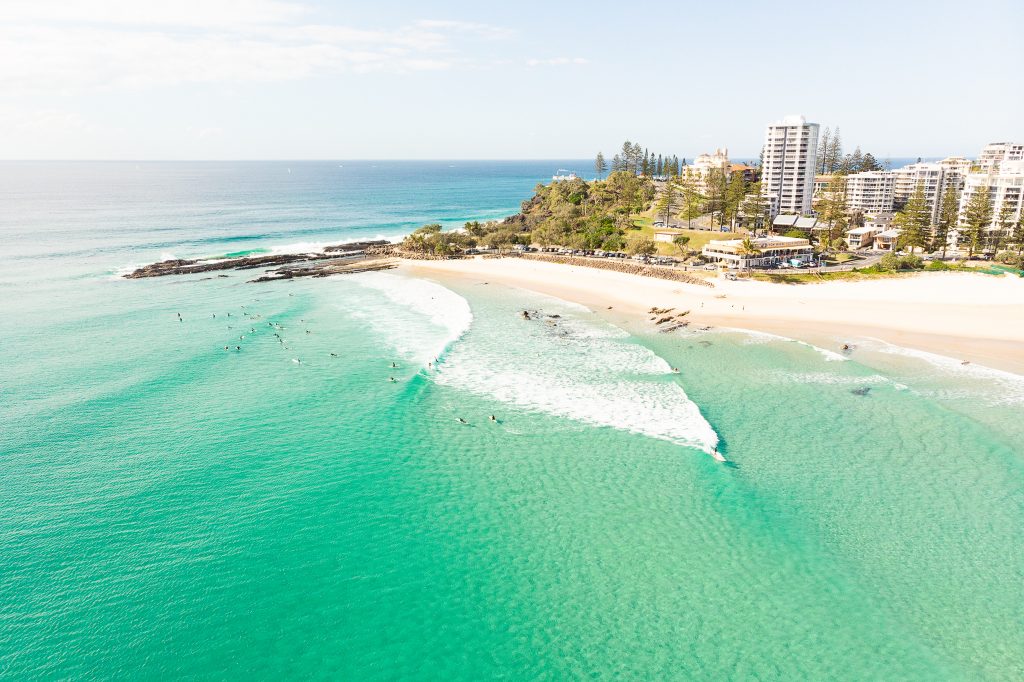
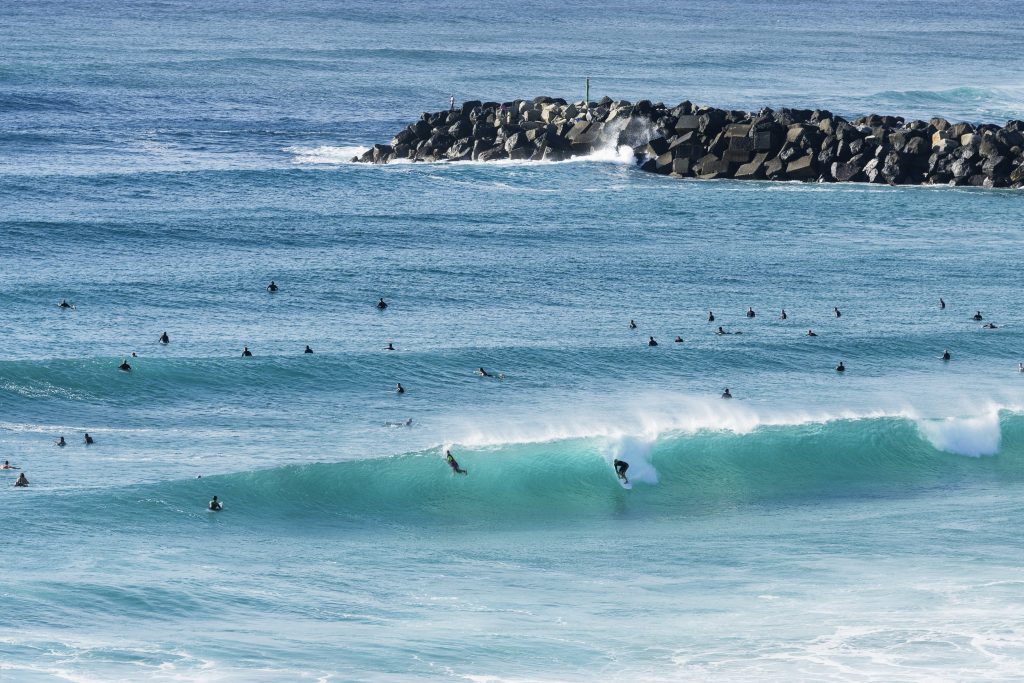
This wave is the first stop on the World Surf League in March which draws a huge crowd as the wave breaks only meters from shore.

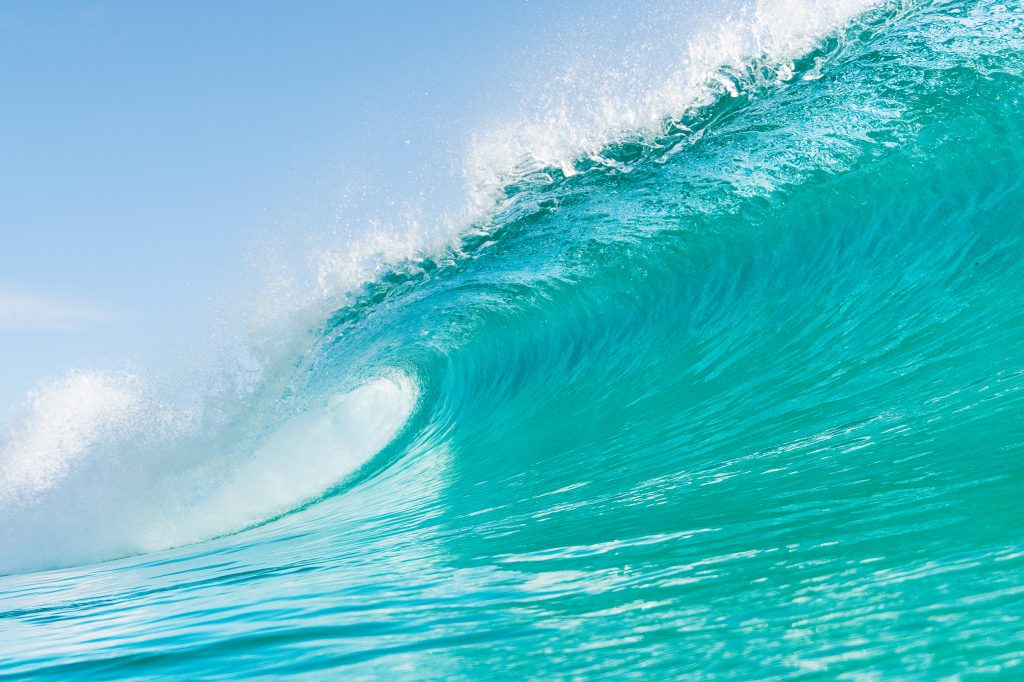
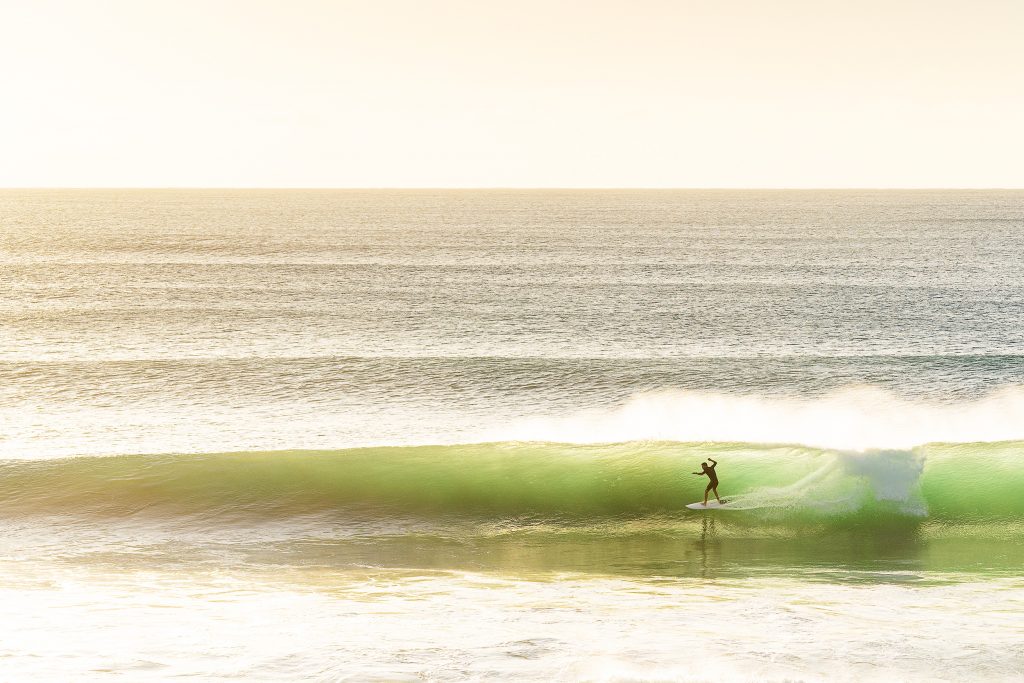
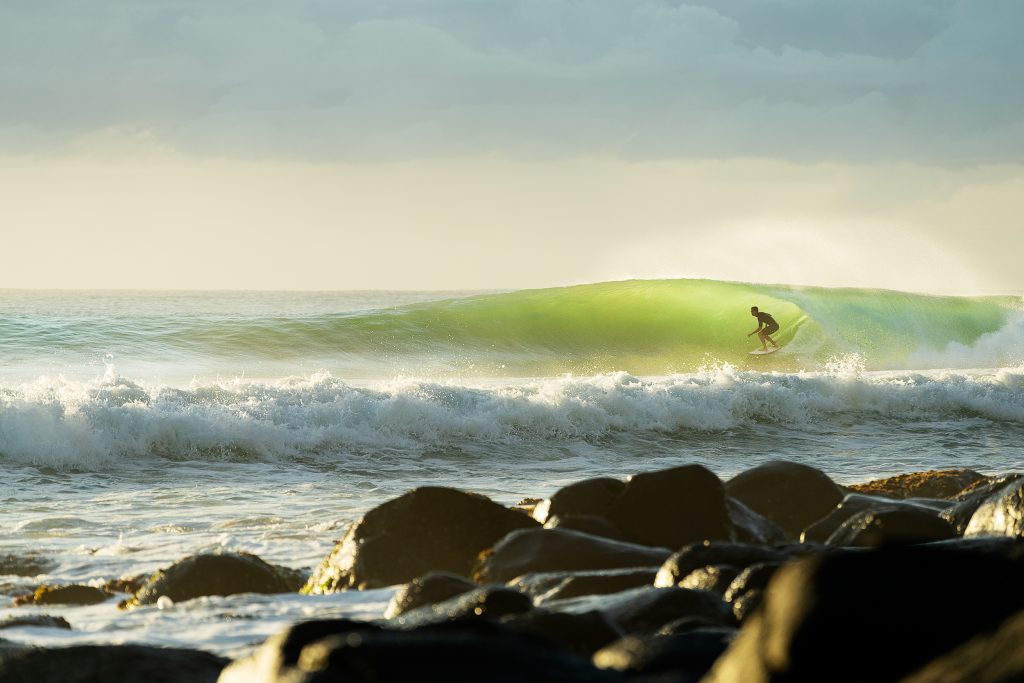
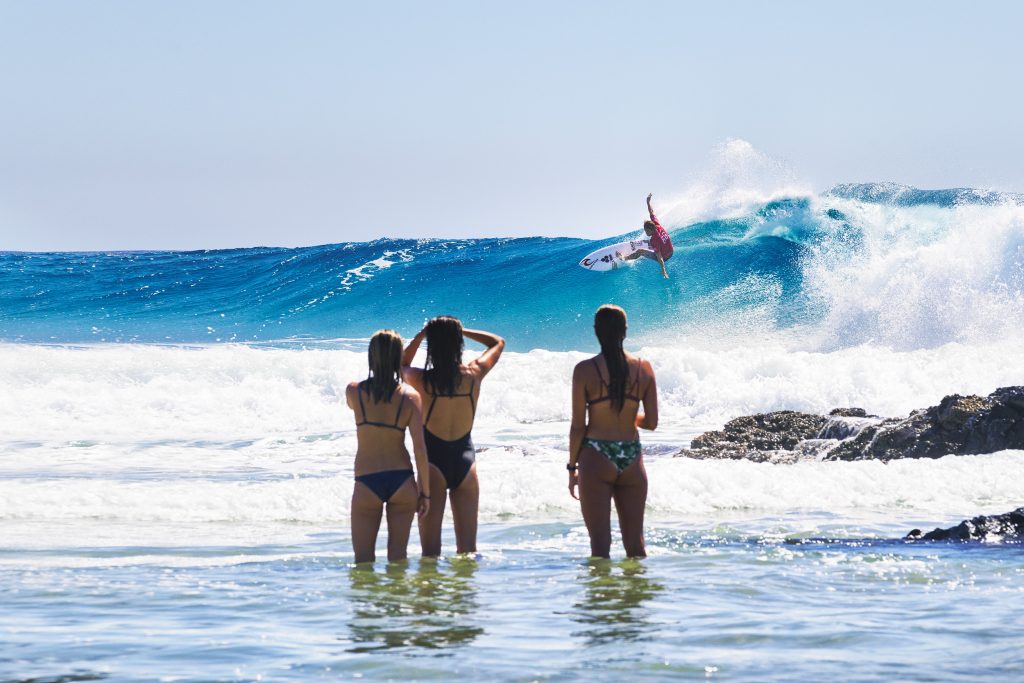
It’s a top to bottom performance wave that produces some of the world’s best surfers and it’s easy to see why.

It starts behind the rock throwing a huge barrel that only experienced surfers take off on. If you negotiate the backwash and don’t get chewed up and deposited on the sharp rocks, you’ll be gifted an incredible barrel which then lines up for a top to bottom performance wave with multiple barrel sections down the point.

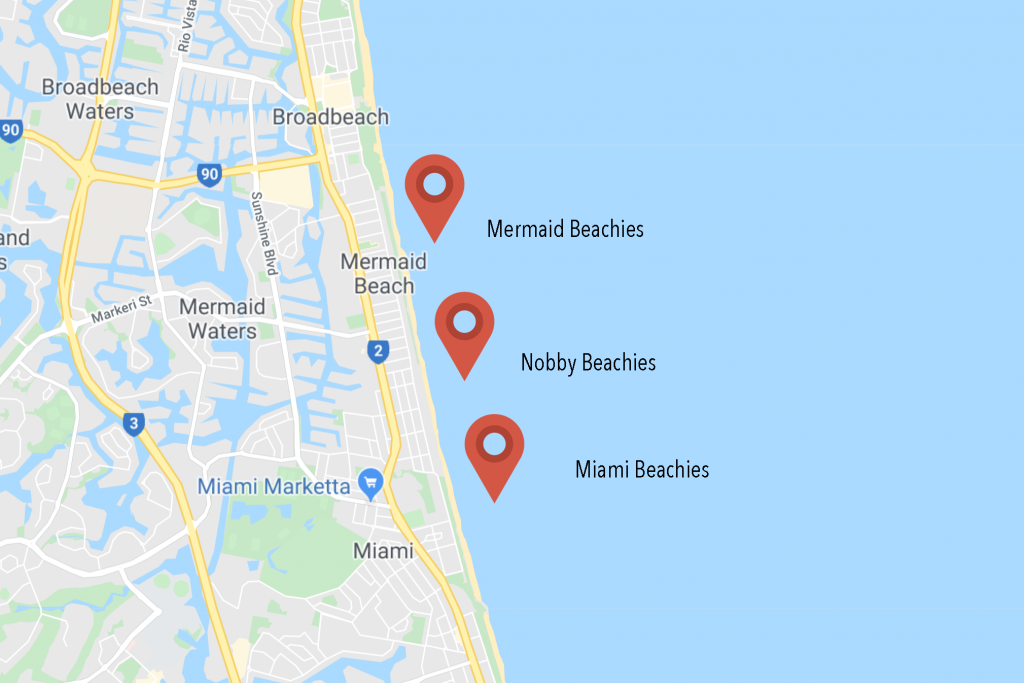
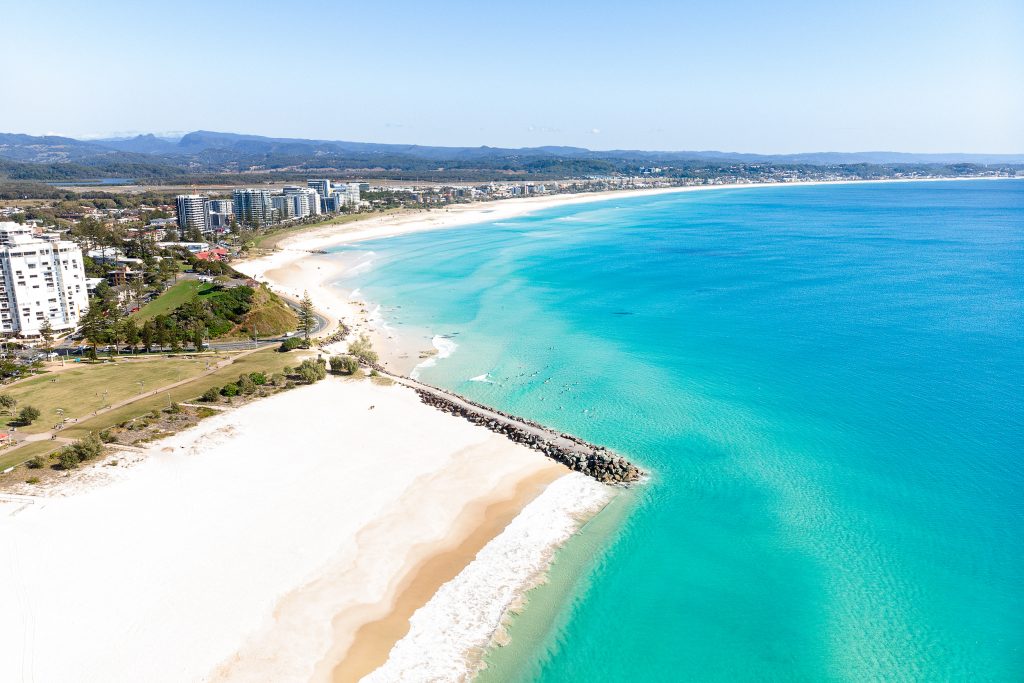
With the right conditions it breaks from Snapper Rocks, through Greemount and onto Kirra (1.5km wave ) I’ve had one of these a few years ago and still the best wave of my life.

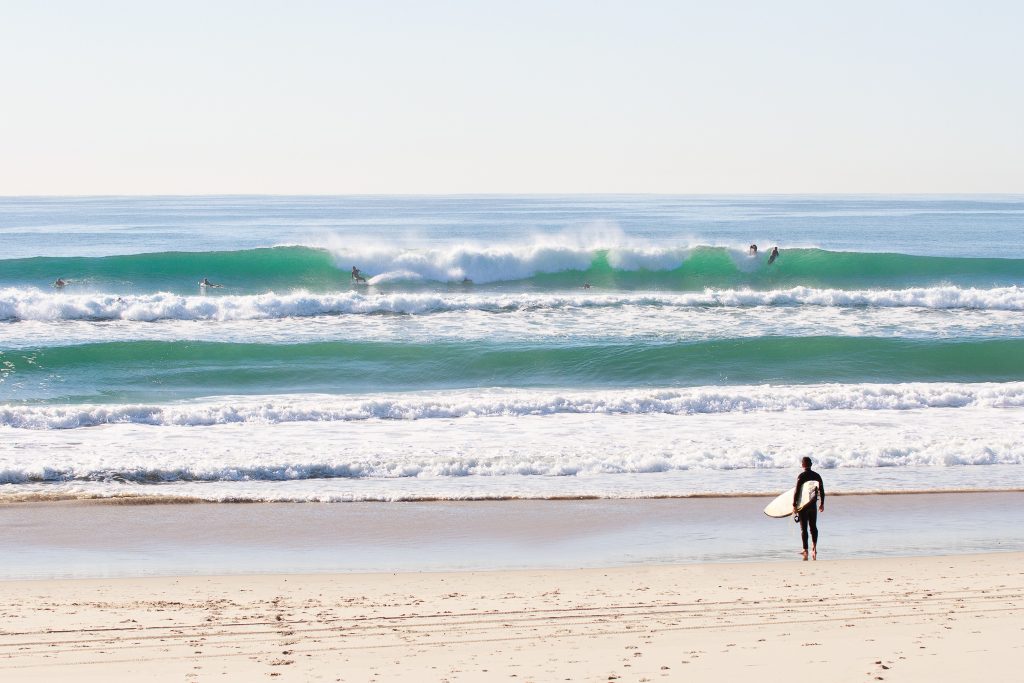
Entry is fairly straightforward if you paddle out from the key-hole at the take off of the wave or jump off the rocks if you’re feeling game.

Swell: 2-6 foot

Wind: S-SW

Tide: All tides

Setup: Sand and rock bottom point break

Crowds: Insane

 
Guide photography kirra
Guide to surfing Coolangatta
Snapper rocks surf map

DURANBAH (DBAH)

The saviour for all surfers on the Gold Coast and rated one of the best beach breaks in the world.

It faces east and picks up any swell that swings past. When most places are flat, Dbah will have a wave.

Duranbah Beach (or Dbah as the locals call it) is on the southern most point of Queensland on the QLD / NSW border.

The beach is only about 350m long but produces some great A-frame peaks along its length.

Swell: 1-4 foot

Wind: W-SW

Tide: All tides

Setup: Beach Break

Crowds: Crowded


Dbah Surf Guide
Dbah surf guide
Dbah surf guide
Map Dbah